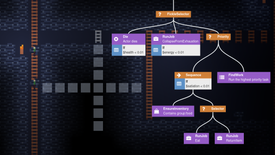
Creating worker NPCs using behavior trees
Hi, I'm rubenwardy! Welcome to my blog, where I write about my projects and various tech-related topics.
Here are some of my favourite posts:
1-20 of 59 posts
My eventual goal with electronics is to create autonomous robots and drones; I’d like to make a quadcopter with my own flight controller that can take off, land, and follow a target. This will be quite an ambitious project, and I’m nowhere near capable enough for that yet.
Previously, I created a simple plant monitor that reported stats to an online dashboard. This allowed me to learn soldering, stripboards, and 3d printing. To work on future projects, I need to be able to produce ever more complicated circuits and mechanical designs.
After watching some Lock Picking Lawyer on YouTube, I was inspired to think about different locking mechanisms. A locking box would be a good experiment with mechanical design, and if combined with IoT, would be good for electronics too.
In this article, I will cover how I created my lock box - from the problems I had, the iterations I made, and the final design I settled on. It’s a bit of a random project, I didn’t have set goals in mind. I started by exploring different locking mechanisms, and then moved to focusing on the electronics and getting it working.
Articles are a great way to expand your knowledge as a programmer, by learning from the experiences of others. A good article is also interesting to read. Here is a collection of articles I recommend reading.
When implementing controller support in a game, it’s desirable for gamepads to just work without a lot of user configuration. Platform APIs are pretty useless for this, the solution is an API like SDL_GameController that allows you to target a large number of gamepads without much effort.
Each operating system has its own API for gamepad input. Windows has XInput, and Linux has the joystick and evdev APIs. When a gamepad button is pressed, applications will receive a button id. This is a number, there’s no OS way to know which button id corresponds with which button. The ids for a button are not the same on different gamepads and platforms, making it super hard to support more than a couple of devices.
if (SDL_JoystickGetButton(joystick, 8)) {
std::cerr << "no idea what button 8 is" << std::endl;
}
One thing platforms do give you is the name, model, and manufacturer of the game controller. If you test with a large number of gamepads, you can create a database from gamepad name to layout. Luckily, SDL_GameController has already done this for you. Instead of a random number, you can use a named button that will work no matter the gamepad and platform:
if (SDL_GameControllerGetButton(controller, SDL_GameControllerButton::SDL_CONTROLLER_BUTTON_X)) {
std::cerr << "X was pressed!" << std::endl;
}
Last month, ContentDB received a large spike in traffic. ContentDB is the website I created that allows you to install mods/games/texture packs from within Minetest’s main menu. On Saturday 5th, Bobicraft, a Spanish-language Youtube channel with 5M subscribers, posted a video about Minetest. At the time of writing, it has reached 1.3 million views and is now the most-watched Minetest video.
In this article, I will show the data about this increase in traffic. As the tools that I use to monitor ContentDB are ephemeral, this will keep the data around for future reference.
A few months ago, my Steam Deck arrived. So, obviously, one of the first things I did was play Minetest. Whilst Minetest isn’t available on Steam yet, it is available on Flatpak and so can be installed from desktop mode.
Minetest plays very well on the Steam Deck, it performs great and Steam Input makes setting up controls easy. The Deck is an open console, so there’s full support for modding and you can cross-play with other platforms.
In this article, I will explain how to set up Minetest on the deck, and review the controls, performance, and experience. I’ve already written my thoughts about the Deck in another article, and recommend checking that out.
Using a fingerprint to unlock your computer or elevate privileges (sudo) is a nice convenience, saving time during daily use of a computer. This article will show you how to set up fingerprint authentication on Ubuntu KDE. You’ll still need to enter your password to login, but once logged in you will be able to use a fingerprint to unlock or use sudo.
This guide is based on a Thinkpad X1 running Kubuntu 22.04, but it should work for most laptops with supported fingerprint sensors. You can check whether your fingerprint sensor is supported by searching for “Linux fingerprint” and your computer’s make/model. The Arch wiki is especially useful for this sort of thing, even if you don’t use Arch.
It goes without saying that this comes without warranty; backup your data, and have a LiveUSB ready. There are some pointers on recovering from mistakes at the bottom of this page. Luckily, I never needed to use a LiveUSB, I could easily recover from a virtual console.
In 2016, I created an app to install mods for Minetest’s Android port. It was my first Android app; it taught me a great deal about Android development and also helped me get my first programming job.
Minetest is an open-source game engine with millions of downloads and thousands of weekly players. The project has a very active modding community, with many games available to play. Before I created the app, users had to manually install content by unzipping their files into a directory; this was a poor user experience, especially on Android, so I created the app to make this easier.
Minetest now has ContentDB, a platform I created to browse and install mods and games within Minetest. Because of this, the app is now obsolete and is no longer available for download. That doesn’t mean this app is fully gone - the lessons I learned live on in ContentDB.
Steam Deck is a new portable gaming console from Valve. The Deck is a very open platform as it’s a full Linux PC, making it very easy to use third-party games and stores. All Decks can act as a devkit machine, and come with devkit tools preinstalled. There was a Steam Deck Devkit edition, but that was a preproduction version of the hardware to allow game developers to test their games.
This article will show you how to upload and run your games on the Steam Deck from your development computer, using a VSCode task or a script you can use in any editor. Whilst you could develop on the Deck directly, it would require setting up a new dev environment. Being able to develop on your computer and test on the Deck allows you to reuse your current dev environment.
My Steam Deck arrived two months ago, and I’ve been having a blast ever since. I’m not much of a gamer; RimWorld and Skyrim are the only two games I’ve spent more than 100 hours in. I find it hard to play a game without wanting to do game dev instead. But with the Deck, I’ve been playing the games that have been on my play list for a while.
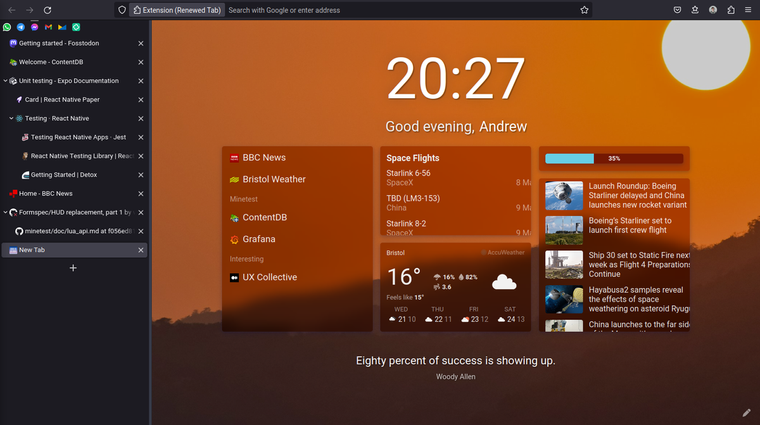
I created Renewed Tab last year to fulfil my personal needs, and have since expanded on it based on user feedback, focusing on rich widgets, a clean user experience, and customisation.
I wrote an article on the Renewed Tab blog where I explained what led me to create a New Tab extension and what the design requirements were.
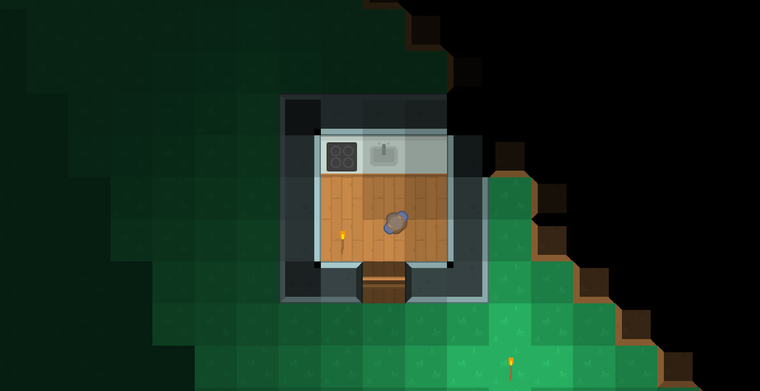
I’m a huge fan of RimWorld, a base building game where you manage a group of colonists. Rather than directly controlling the colonists, you place blueprints for buildings, mark trees for cutting, and animals for hunting. NPCs will then decide what to do automatically, based on their skills and priorities.
I’ve made two games recently with similar mechanics. The first was Ruben’s Virtual World Project (RVWP), a hybrid basebuilder/topdown shooter. The second was Tin Mining, a mining sim created as an entry to Ludum Dare 48. Both of these games allowed placing building plans that NPC workers would then build out.
In this article, I will explain how I implemented the NPC AIs, and the problems I faced.
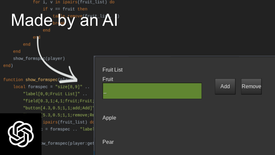
OpenAI’s GPT-3 is a powerful new Artificial Intelligence model that uses deep learning to produce human-like text. It was trained on a large body of text, with sources including websites, Wikipedia, and books. It doesn’t just understand natural language, it can also work with programming languages.
This topic is especially relevant with the recent introduction of GitHub Copilot. Copilot is an “AI pair programmer” for your IDE that suggests code and entire new functions. It’s based on same technology as GPT-3, but with a model derived from GPT-3 and optimised for code called Codex. This article will use GPT-3 and Codex, as I wasn’t able to get GitHub Copilot, but the results will be identical.
In this article, I will ask GPT-3 to write Minetest code and explore how much it knows about modding, creating simple and advanced Minetest mods. I will finish by using it to convert Minecraft mods to Minetest.
In 2018, I had the opportunity to create a web app for University coursework, as a solo project. I chose to create a package repository for Minetest, an open-source project I help maintain.
Minetest is an open-source game engine with millions of downloads and thousands of weekly players. The project has a very active modding community, and many available games to run. There was one big issue - you had to manually install mods and games by unzipping their files into a directory. This was a very poor user experience.
In April 2021, I participated in my first game jam, Ludum Dare 48. Ludum Dare is a popular online game jam; this event received over 3800 submissions. The theme was “Deeper and Deeper,” and I created a game where you manage a tin mine.
The year is 1790, and the Cornish tin industry is booming. You are a businessperson who has just secured investment to build a mine. The area is known to be rich in tin, which is in high demand.
Rather than controlling your workers directly, you drag out plans for tiles to be mined and built. The workers will mine tunnels and build where ordered. They will carry mined resources to the surface to be sold.
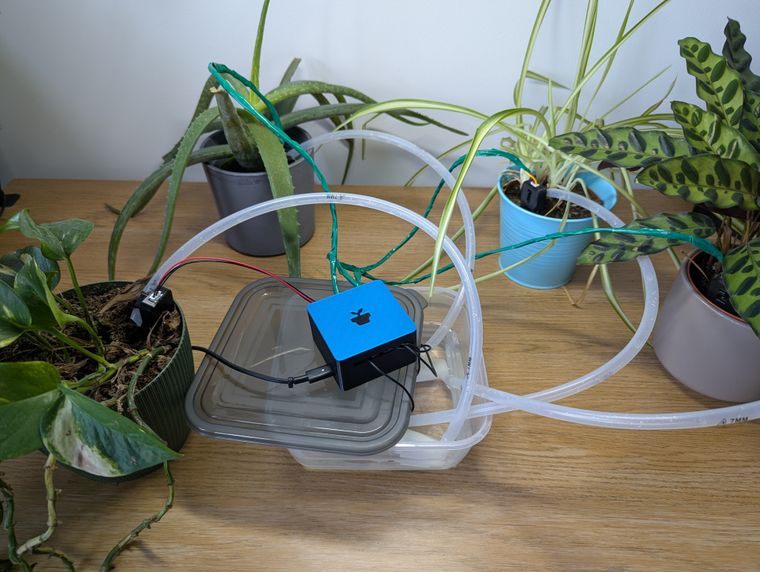
I have a lot of houseplants, but I often forget to water them. I’ve been getting into electronics and thought this would be a great opportunity to make something.
I made a plant monitor, which measures soil moisture, temperature, and humidity, and reports these things to a cloud IoT service called Thinger.io.
I’ve been asked a few times what my theme is and what my specs are, so I thought I’d put this together.
Markdown is a common choice for rich text formatting due to its readability and ease-of-use. Unlike a lot of markup, it aims to match natural text. It’s even easy for beginner users, and there are WYSIWYG editors available.
We will be using the Python Markdown library to convert Markdown to HTML. Markdown doesn’t have a well-defined standard. The library aims to comply with what little is defined by the Markdown syntax specification, meaning that it is also often stricter than other parsers.
I worked as an Android developer just over two years ago, creating native apps for clients using Java and Kotlin. During that time, Kotlin was gaining prominence and had just been made official by Google. Google also introduced Architecture Components that year, later renamed to JetPack. Since then, the Android ecosystem has changed significantly, with Kotlin and JetPack gaining significant maturity and development. Out with Realm, Activities, and Model-View-Presenter (MVP), in with Room, fragment-based architecture, and MVVM. Data-binding and MVVM are pretty awesome and breathe a whole new life into Android app development.
Sandboxes can protect the user’s computer from malicious or buggy scripts. But sandboxes are difficult to get right; you need to be very careful with what you expose, and make sure you test for vulnerabilities. The Sandboxes on the Lua wiki is required reading, as it contains very helpful advice.
Many APIs in my game push Vector3
s to and from Lua. It’s such a common operation,
that most of my functions used to look like this:
sol::table add(sol::table tPos) {
Vector3f pos = TableToPos(tPos);
// do something
return PosToTable(pos);
}
One of the benefits of sol is that it is able to bind Lua arguments to C++ function arguments, converting types implicitly. Having to convert from a table to a vector ourselves is quite annoying. It would be much nicer to have sol do it for us. Luckily, sol allows you to customise how types are retrieved and pushed to Lua using Customisation Points.
When trying to convert a type from Lua to C++, sol will call certain templated functions.
We will be customisating sol’s behaviour using a technique called template specialization,
which allows us to specialise a specific instance of the templated functions and structs.
By the end of this article, we’ll be able to use Vector3
directly when using sol,
allowing the above code to be turned into this:
Vector3f add(Vector3f pos) {
// do something
return pos;
}
1-20 of 59 posts