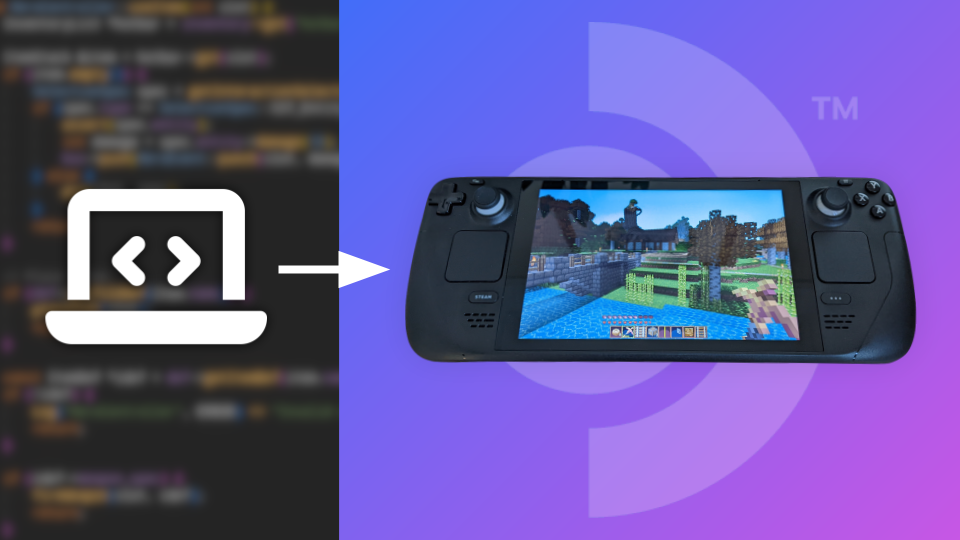
Devkit CLI: Upload your game to Steam Deck from your dev computer
Steam Deck is a new portable gaming console from Valve. The Deck is a very open platform as it’s a full Linux PC, making it very easy to use third-party games and stores. All Decks can act as a devkit machine, and come with devkit tools preinstalled. There was a Steam Deck Devkit edition, but that was a preproduction version of the hardware to allow game developers to test their games.
This article will show you how to upload and run your games on the Steam Deck from your development computer, using a VSCode task or a script you can use in any editor. Whilst you could develop on the Deck directly, it would require setting up a new dev environment. Being able to develop on your computer and test on the Deck allows you to reuse your current dev environment.
Set up SteamOS Devkit #
You’ll need to follow the “Install tools” and “Connecting to Deck” instructions found in the Steamworks documentation.
How does DevKit upload to the Deck? #
Before we continue with the process, it’s important to explain what the DevKit GUI does when you upload a game. The GUI is quite complicated and there’s no official CLI or library, so it would be nice if we could simplify the process.
It performs the following steps:
- Uploads some utility scripts
- Creates a game on the Deck
- Uploads the game files
- Creates a shortcut for the game on the Deck
Steps 1, 2, and 4 don’t need to be done every time. Once the game is registered using the GUI, you only need to upload the files to upload a new version.
Create your game using the Devkit Client GUI #
With your Deck connected, go to Title Upload and fill in the fields:
- Name: Programmatic name, no spaces are allowed. Ex:
MyGame - Local folder: Path to the build folder. Ex:
/home/user/dev/games/mygame/build/. - Upload filtering: You can filter what files are uploaded to the deck here.
- Check “Delete remote files not present in local folder”
- Start command: Executable name, relative to local folder. Ex:
mygame.x84_64 - If your game is a Windows executable, you’ll need to enable Steam Play.
- Save config
- Click Upload
You should now go to Library > Non-Steam Games and run your game. If it fails to open, you should check the logs - you can do that using the “Device Logs” tab of the Devkit Client GUI.
The Script #
The script uses rsync to upload the files to the deck. rsync is a common program used to copy entire directories; in this case, we’re using it to upload over SSH. If you’re using Windows, you may need to use WSL.
Save the following as ./utils/deck.sh in your project and customise the variables
at the top.
#!/bin/bash

set -e

# Details as provided to the DevKit client
GAME_NAME="MyGame"
BUILD_DIR=~/dev/games/mygame/build/
EXE="mygame.x86_64"

# Deck IP address
IP_ADDRESS="192.168.0.110"

# No need to edit these
TARGET_PATH="/home/deck/devkit-game/$GAME_NAME/"
RSA_KEY_PATH=~/.config/steamos-devkit/devkit_rsa

# Upload game files
rsync -av --chmod=Du=rwx,Dgo=rx,Fu=rwx,Fog=rx \
  -e 'ssh  -o StrictHostKeyChecking=no -i $RSA_KEY' \
  --update --delete --delete-excluded --delete-delay \
  --checksum "$BUILD_DIR" "deck@$IP_ADDRESS:$TARGET_PATH"
You can add this as a VSCode task by adding the following to
.vscode/tasks.json:
{
    // See https://go.microsoft.com/fwlink/?LinkId=733558
    // for the documentation about the tasks.json format
    "version": "2.0.0",
    "tasks": [
        {
            "label": "Run on Steam Deck",
            "type": "shell",
            "command": "./utils/deck.sh",
            "presentation": {
                "reveal": "always",
                "panel": "shared",
                "showReuseMessage": true,
                "clear": true
            }
        }
    ]
}
Conclusion #
The fact that the Deck is a Linux PC made this super easy to do. In the future, I’d like to make a devkit CLI that allows you to create games as well as update. I’d also like to be able to start and stop the game, this would be super useful during testing.
Comments