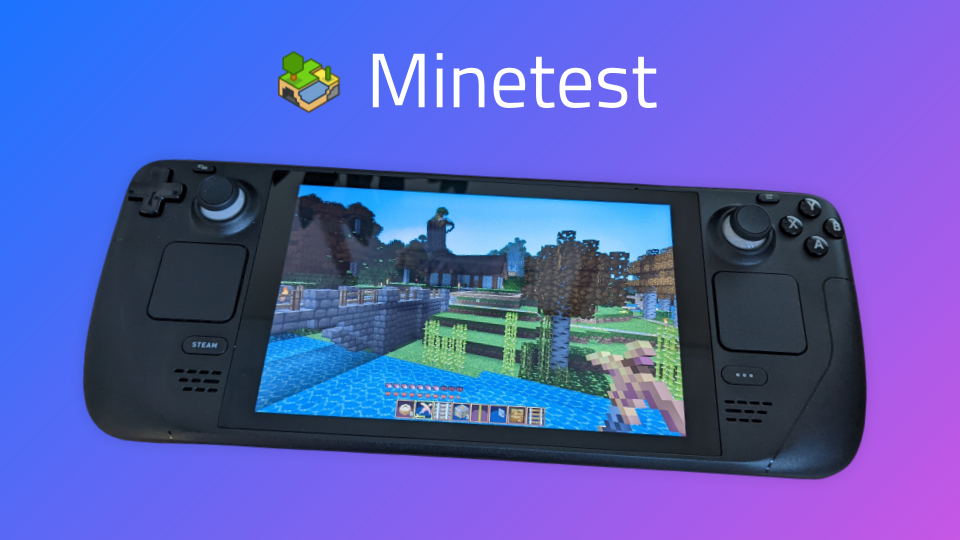
A few months ago, my Steam Deck arrived. So, obviously, one of the first things I did was play Luanti. Whilst Luanti isn’t available on Steam yet, it is available on Flatpak and so can be installed from desktop mode.
Luanti plays very well on the Steam Deck, it performs great and Steam Input makes setting up controls easy. The Deck is an open console, so there’s full support for modding and you can cross-play with other platforms.
In this article, I will explain how to set up Luanti on the deck, and review the controls, performance, and experience. I’ve already written my thoughts about the Deck in another article, and recommend checking that out.
Setting Up Luanti on Steam Deck #
Install Luanti #
As Luanti isn’t available on Steam yet, you’ll need to boot into the Deck’s Desktop Mode and install Luanti from Flatpak. Press and hold the power button and then select Switch to Desktop Mode.
Next, open up the Discover app. To show the onscreen keyboard, you’ll need to press Steam and X at the same time. Search for Luanti and install it.
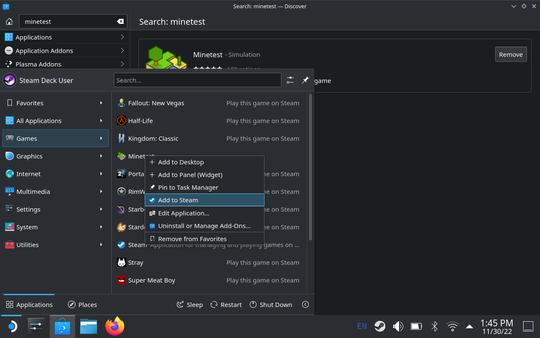
Once installed, open up the start menu, find Luanti, and right-click on it by pressing the left trigger (L2). Select “add to Steam” and wait for it to finish.
You can now boot back into game mode. You’ll find Luanti in Library > Non-Steam Games.
Add Cover Art (optional) #
The Steam Deck’s UI shows art for each game. It’s likely that you’ll want to add art to Luanti so that it’s not just a grey square.
Run Luanti at least once in Game Mode, stop it, and return to Desktop Mode.
Now you need to download the cover art you’d like to use. I’ll be posting some example images at some point. In the meantime, you’ll need to provide horizontal (460x215px) and vertical (600x300px) images in the correct resolutions.
Launch Steam and go to the Library. Find Luanti’s tile on the right side of the window, then right-click > Manage > Set Custom Art > Select the vertical image.
Scroll down until you see the blank landscape image of the app. Right-click > Manage > Select artwork > Choose the horizontal image.
If you’re stuck, here’s the tutorial I followed on YouTube.
Controls #
Setting up a Control Layout #
Unfortunately, Luanti doesn’t have built-in support for gamepads. There is some basic code for it, but it’s very broken and doesn’t support user interfaces at all. I’m planning to fix this at some point, but in the meantime, we’ll need to make do without it.
When a game doesn’t have built-in controller support, you can use Steam Input to bind the controls to fake mouse movement and key presses.
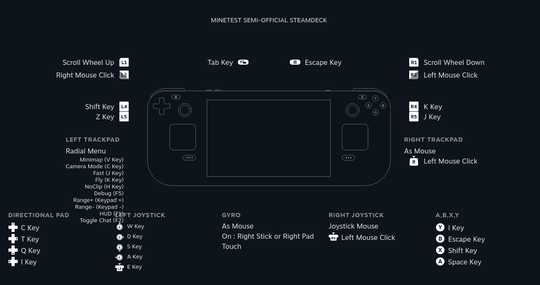
I’ve already made a config for Luanti. Select the gamepad icon, and then click the layout button. Go to Community and select “Luanti Semi-official Steam Deck” by rubenwardy. You can now customise my layout as desired, or alternatively make your own layout based on Templates > Keyboard (WASD) and Mouse.

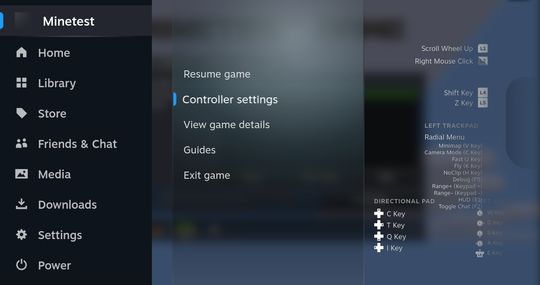
If, at any time, you’ve forgotten the controls or want to change them, you can press the Steam button and go to controller options. It shows you the controls and allows you to edit them whilst the game is running.
Playing the Game #
The game plays well in classic creative/survival gameplay, it’s easy to place blocks and move around. Playing PvP or games that require parkour is harder, but there are tricks to making it playable - you can use the touchpad for finer movement or the gyro to aim.
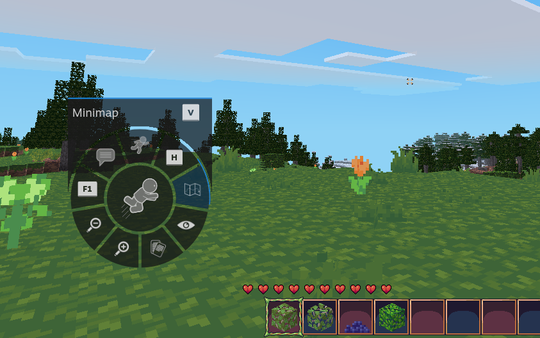
One problem with going from a keyboard+mouse game to a gamepad is that a gamepad has way fewer buttons. Steam Deck comes with extra buttons on the back, which are great for extra actions. You can also use the left touchpad as a radial menu, selecting options by dragging your finger to an angle and pressing to select.
User Interfaces #
You can use the right touchpad or thumbstick to move and click the mouse. Because “place” is right-click, you can use the left trigger to right-click in the inventory, allowing you to place a single item in a slot. You can also use sneak to shift+click.
Steam Deck does come with a touchscreen, but because Luanti was built in desktop mode it just emulates a mouse. You can’t use the touch gestures available on the Android port.
To type, you’ll need to manually open the keyboard by pressing Steam+X.
Interacting with Luanti’s User Interfaces is perfectly usable but is a bit clunky. It would be nice to have intelligent focus using the left thumbstick, but this will require engine changes to fully support gamepads.
Performance #
It’s hard to get an objective measure of the performance whilst playing Luanti as it depends a lot on what you’re doing. How much of the world and what you can see makes a big difference - viewing a large dense area of the map with lots of trees, walls, and entities will drop the FPS lower than viewing a similar area of grassy plains.
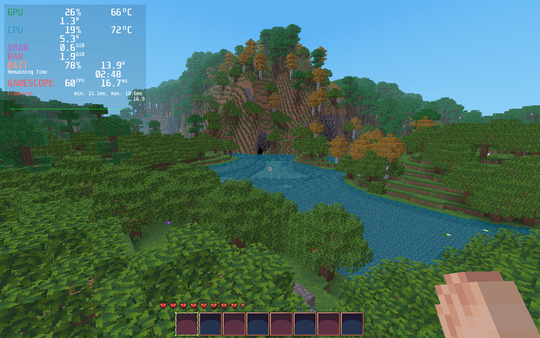
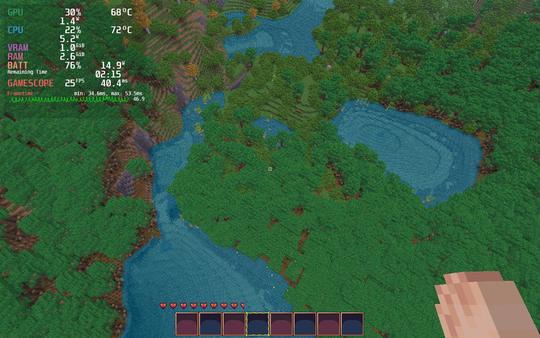
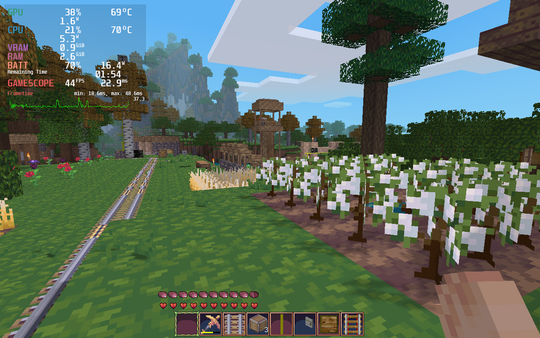
Starting a brand new world, I got a stable 60FPS walking around a dense forest with default settings (200 view range). Flying above the forest, the FPS drops down to 25FPS, which is still perfectly playable.
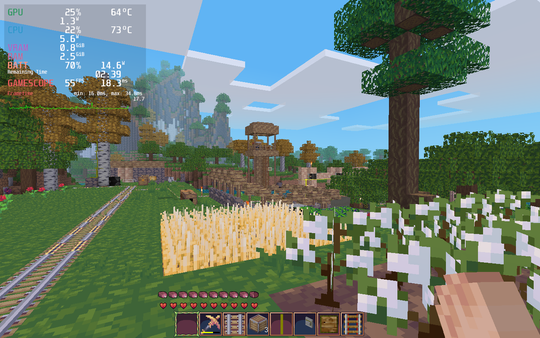
Walking around my farm with default settings, I get 56-60FPS with occasional drops down to 50FPS. The town has a lot of underground tunnels with mesecons and pipeworks networks. There are also a lot of mobs roaming around, it is a farm after all. Turning on medium shadows drops the FPS to 37-45.
Luanti is largely CPU bound. The Steam Deck has an AMD RDNA 2, which is quite a good GPU in terms of power to performance; it certainly outperforms the iGPU on my laptop. If Luanti were to receive the attention needed to upgrade to make use of modern pipelines and the GPU, I’m sure the Deck would benefit and perform better.
Conclusion #
Steam Deck is an awesome new way to play Luanti. Its openness makes it the best console to play Luanti on.
In the future, I plan on adding full gamepad support to Luanti, which will make using GUIs much easier. I also plan on releasing Luanti to Steam once we have a new main menu; this will make it easier to install Luanti on the Deck.
This article was originally going to be a YouTube video before I discovered that recording the screen was painful, almost as painful as recording the voice-over.
Comments
Hi, rubenwardy.
I wanted to ask what texture pack are you using in this article? I really like it.
I also saw you mentioned mobs in this article. What mob mods do you recommend? She is the ones I’ve later with are kinda janky.
I want to close by saying I really enjoy Minetest and I appreciate all the work you do for it.
Thank you!
I’m using RPG16, it’s my favourite texture pack!
That world is quite old by this point, I’m using Mobs Redo as that was the best option at the time. You may wish to try Animalia as well, it’s heavier but is supposed to have better behaviour.
and thank you!
I’m having a blast playing Minetest on Steam Deck. Your control layout seems easy and intuitive, although I don’t have these icons on the radial menu like you do. I also don’t use the right joystick for camera movement since the trackpad is way more precise. I re-mapped the right joystick to work as a scroll wheel so I can traverse through my inventory way faster than using bumpers (pretty useful with 16 grid bar). Using the joystick for inventory is also quieter since bumpers are loud and clicky. Overall experience is amazing. Can’t wait for built-in gamepad support and Steam release!
Thanks! I think there’s a bug in how Steam uploads the layout, I uploaded the new version with icons for the actions but it doesn’t appear to be appearing for other people. It’s fairly easy to add them though, all the icons are built-in to Steam Input.
great read, cant wait for steam release!
Please export it so I can download it it doesnt show up in the comuntiy tab